
Create Full-Experience Forge Mods & Customize Every Aspect Of The Client & Server
- A Complete Forge Modding Training
- Over 200+ Topics And Source Codes
- No Previous Coding Skills Required
- Personalized Mod Reviews On Weekly Live Calls
- Lifetime Access
- 30 Day Money-Back Guarantee
What Is Forge Mastery™
Forge Mastery is an online training for Minecraft modding with Forge & NeoForge for Minecraft .
Here's What You'll Learn
- Custom blocks, items, entity models
- Blockbench training with animations and particles
- Custom menus, HUD and user interfaces
- World generation, biomes and structures
- Zoom live coaching 2x/week plus prerecorded training
- No previous coding experience needed
- 24/7 support and 2,000 member community

"The only way to become a DEV on my server"
I have now made it a requirement for developers on my Minecraft server to have done the course with MineAcademy. I recommend this course.
-Sean Firth, MindBuzz.com.au
Here's What You'll Make
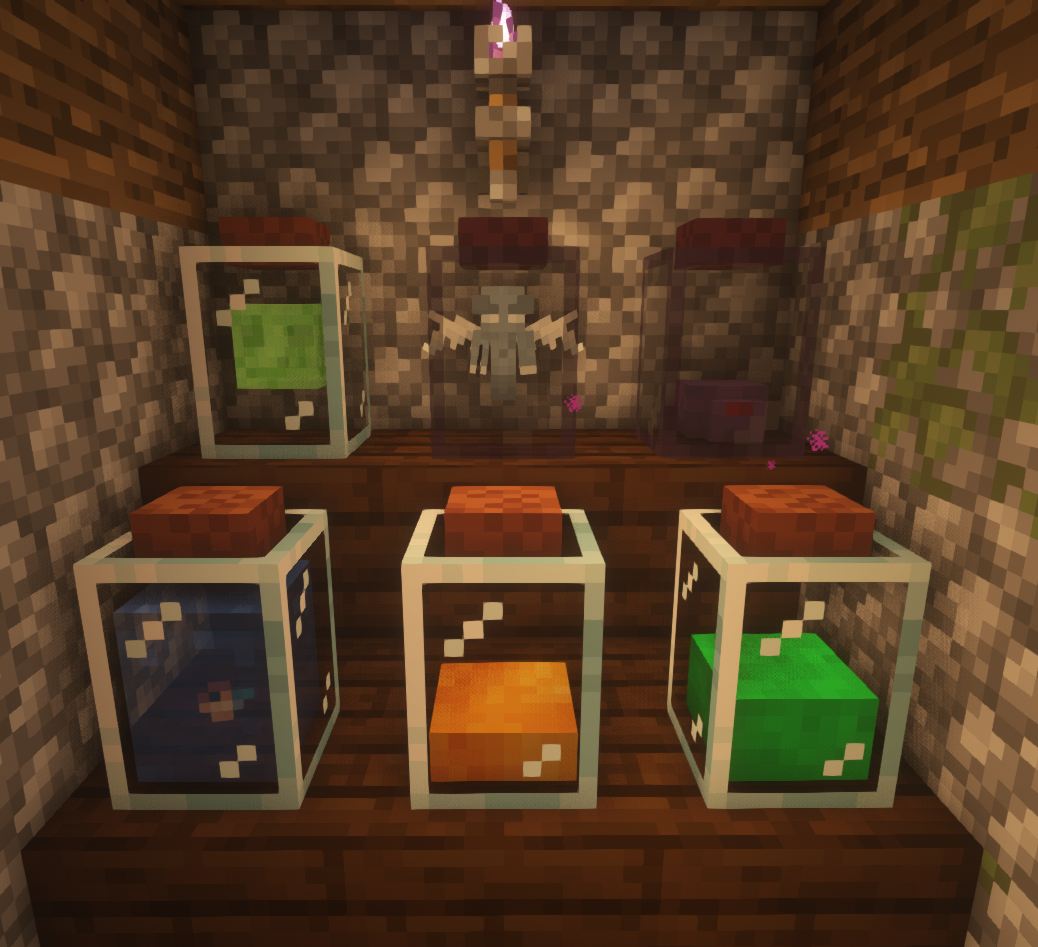
Blocks And Items
Create custom blocks and items, such as buttons, doors, trapdoors, pressure plates, fences, fence gates, walls. Use AI, Photoshop or a free image editor to create your own textures.
Examples: Add chairs, unique shaped blocks. Create a hats mod. Invent new machines.
Create custom blocks behavior. Make blocks that change when interacted with, called waystones (after activate player can teleport to them), or blocks that can process items.
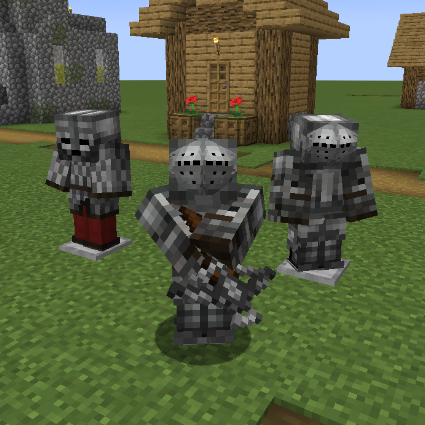
Armor, Weapons And Enchants
Make your own armor with custom enchants and behavior. There are no limits.
Also, create completely new, unique enchantments. Unlike plugins, using mods you can actually make client-side enchants show properly in the enchant table.
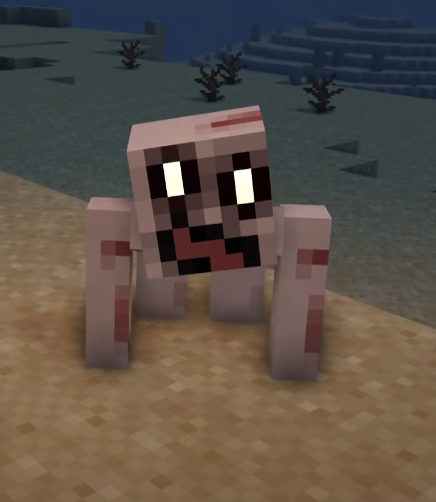
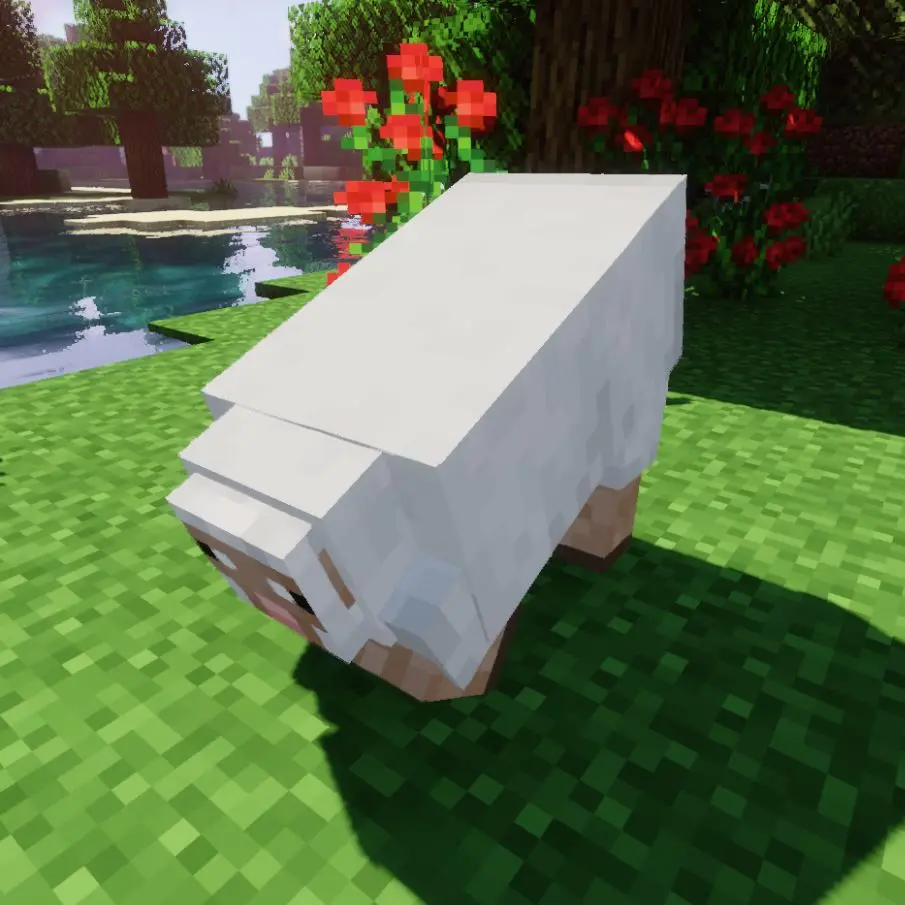
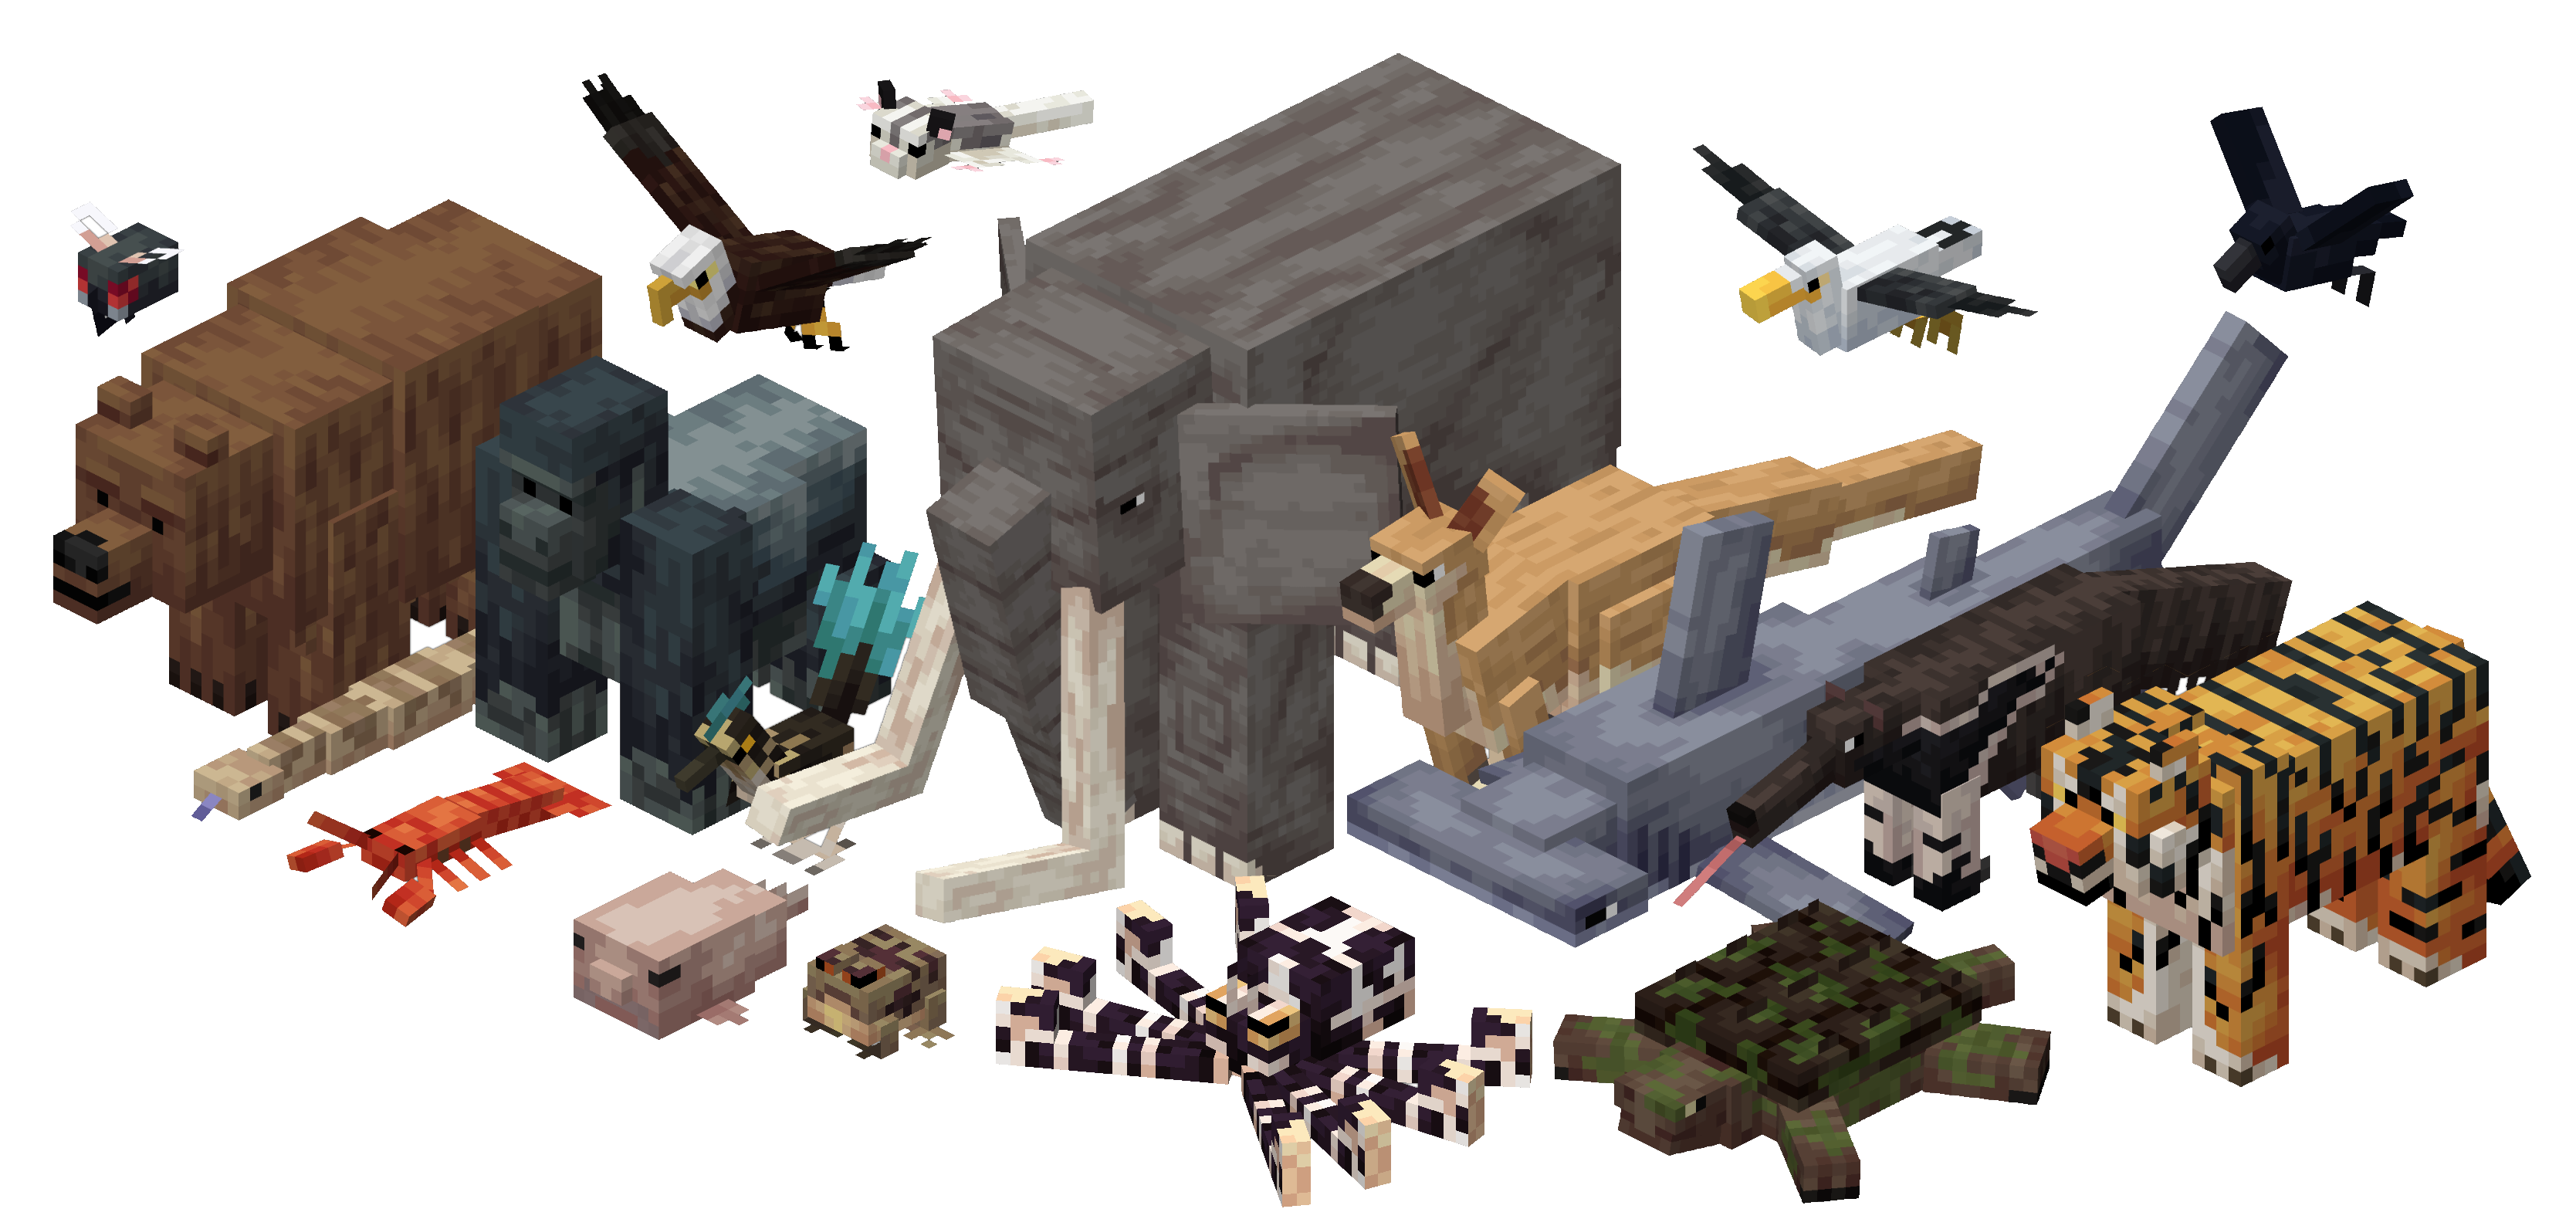
Entities & Models
Add your own mobs to Minecraft with custom pathfinders and AI!
Completely customize entity AI for any mob. Create horror-like creatures that can climb walls to reach the player, or add new, peaceful animals.
Add animations and make custom models using Blockbench.
Or create a lively NPC that can talk to player with a customized GUI that opens when clicked.
Learn to invent completely new game mechanics, or use existing mechanics adding new entities such as new vehicles or transportation systems.
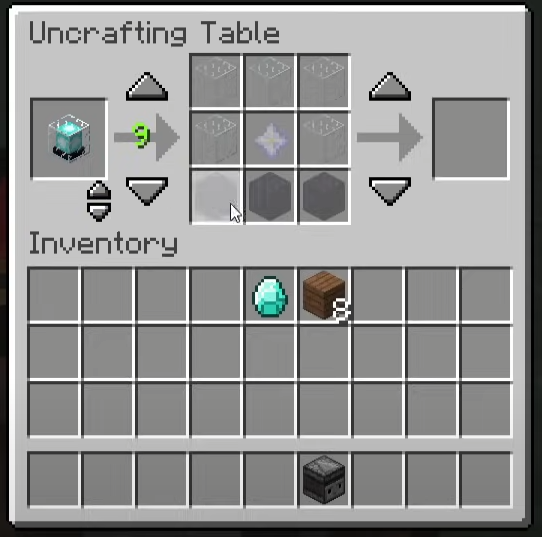
User Interfaces & GUI
Customize any existing interface in the game, or design your own from the ground up, for both the inventory or the hotbar.
Examples: Create an account switcher that can load alts while in the game. Display a video on player's screen. Click on a player's name in chat and see their username history. There are no limits.
Dimensions, Worlds & Structures
Add custom ores, biomes, change sky, generate custom structures, change dimensions, or add custom weather.
Some of you might want to bring back alpha terrain, others will design something entirely unique.
You will be practically able to take over the entire Minecraft level design.
Particles And Animations
Add your own particles or keyframe animations to animals, blocks or items.
Full Experience Mods
Create your own PvP mods or RPG mechanics. Design entire mini-games or dimensions such as the Twilight Forest or the Aether.
Over 200 Topics!
Forge Mastery contains over 200 topics, access to professional instructors and a thriving 2,000+ member community.
Get Forge Mastery™
A complete Forge & NeoForge mod training for Minecraft. No previous coding experience needed.
Course Curriculum
Here’s what’s inside Forge Mastery, lesson-by-lesson:
Welcome to Forge Mastery Week One! This will be a breakthrough week because we are going to be making our first fully customized mod from scratch. There is a lot of exciting stuff and I can’t wait to show it all to you!
Note: Please complete the “Initial Setup” week in Java Masterclass before continuing which we gifted you for free.
Here’s what we are going to cover:
- Assembling your mod: How to download the Forge or NeoForge modding SDK.
- Configuring Gradle: Using Gradle in IntelliJ to build our mod.
- Parchment mappings: Switching from Forge to Parchment mappings for better deobfuscation of parameter names and fields.
- Running client: How to run Minecraft using Gradle with one button click from your IntelliJ to debug your mod and save time.
Since a lot of you are using Windows and it’s one of the least optimized operating systems, I’ll be showing you how to make sure your computer is running at its peak to reduce waiting for compilation times, improve FPS and overall modding experience.
If you save 1 minute waiting for the mod to load and you are repeating this task 10x per day, 5 days a week, that is 50 minutes a week, which is 200 minutes per month. That is 3h20m you could be spending with your loved ones and doing stuff you love instead of staring at the fucking loading screen.
Here’s what we are going to cover:
- IntelliJ optimization: Reducing background tasks in IntelliJ by removing unneeded plugins.
- Windows Software optimization: A high level overview of what I do to keep my Windows computers in high performance state at all times.
- Services trimming: Disabling unnecessary Windows services to reduce background noise.
- (Advanced) Custom Windows: I’ll talk briefly about custom Windows distributions specifically designed for peak performance, for old and new computers alike.
Since the last video about optimizing Windows instructed you to remove GitHub integration from IntelliJ, today I’ll show you what I use to synchronize my code across machines or simply share it online.
Here’s what we are going to cover:
- Using GitHub Desktop: How to synchronize and publish code to GitHub without Git always running in the background for maximum performance and stability.
Today you’ll learn how to export your mod to a single jar file you can publish on Curse or send to your friends.
Here’s what we are going to cover:
- Compiling your mod: How to build your mod into a jar file which can be installed to any Minecraft using Forge.
In this lesson we’re going to be finally starting with modding concepts. I understand there’s a lot of weird stuff in Forge and therefore will begin simply by showing you custom items.
Here’s what we are going to cover:
- Creating a custom item: Registering a custom item within Forge registries in the code, as well as the assets folder. I’ll walk through the item model file, its texture as well as your overall mod language json file.
- Textures: How to properly design a 16×16 texture for Minecraft. I’ll walk through a free app as well as Photoshop.
When I first learned Forge I got stuck 100x of times and wanted to quit 200. I discovered two levels of motivation that helped me push through resistance. Keep in mind it’s completely normal to feel this way and all of us do.
Today, I’ll be explaining Level 1 to this motivation hack so you can stay sharp while maximizing productivity and achieve all goals you have set for yourself in the onboarding survey.
Here’s what we are going to cover:
- Motivation hack level 1: How to stay sharp, focused and maximize productivity even when you don’t feel like doing it today.
- Preventing frustration and overwhelm: How to reduce the risk of losing motivation and quitting prematurely before achieving your goals.
While the last lesson dealt with mental blocks, today we’ll be dealing with actual custom Minecraft blocks.
Here’s what we are going to cover:
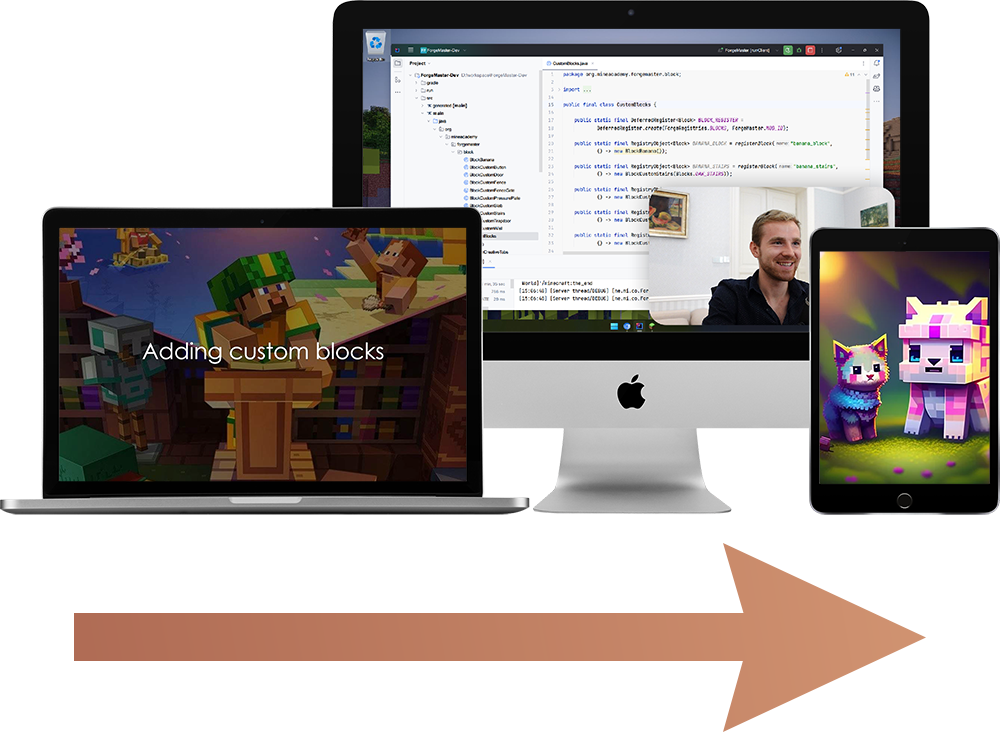
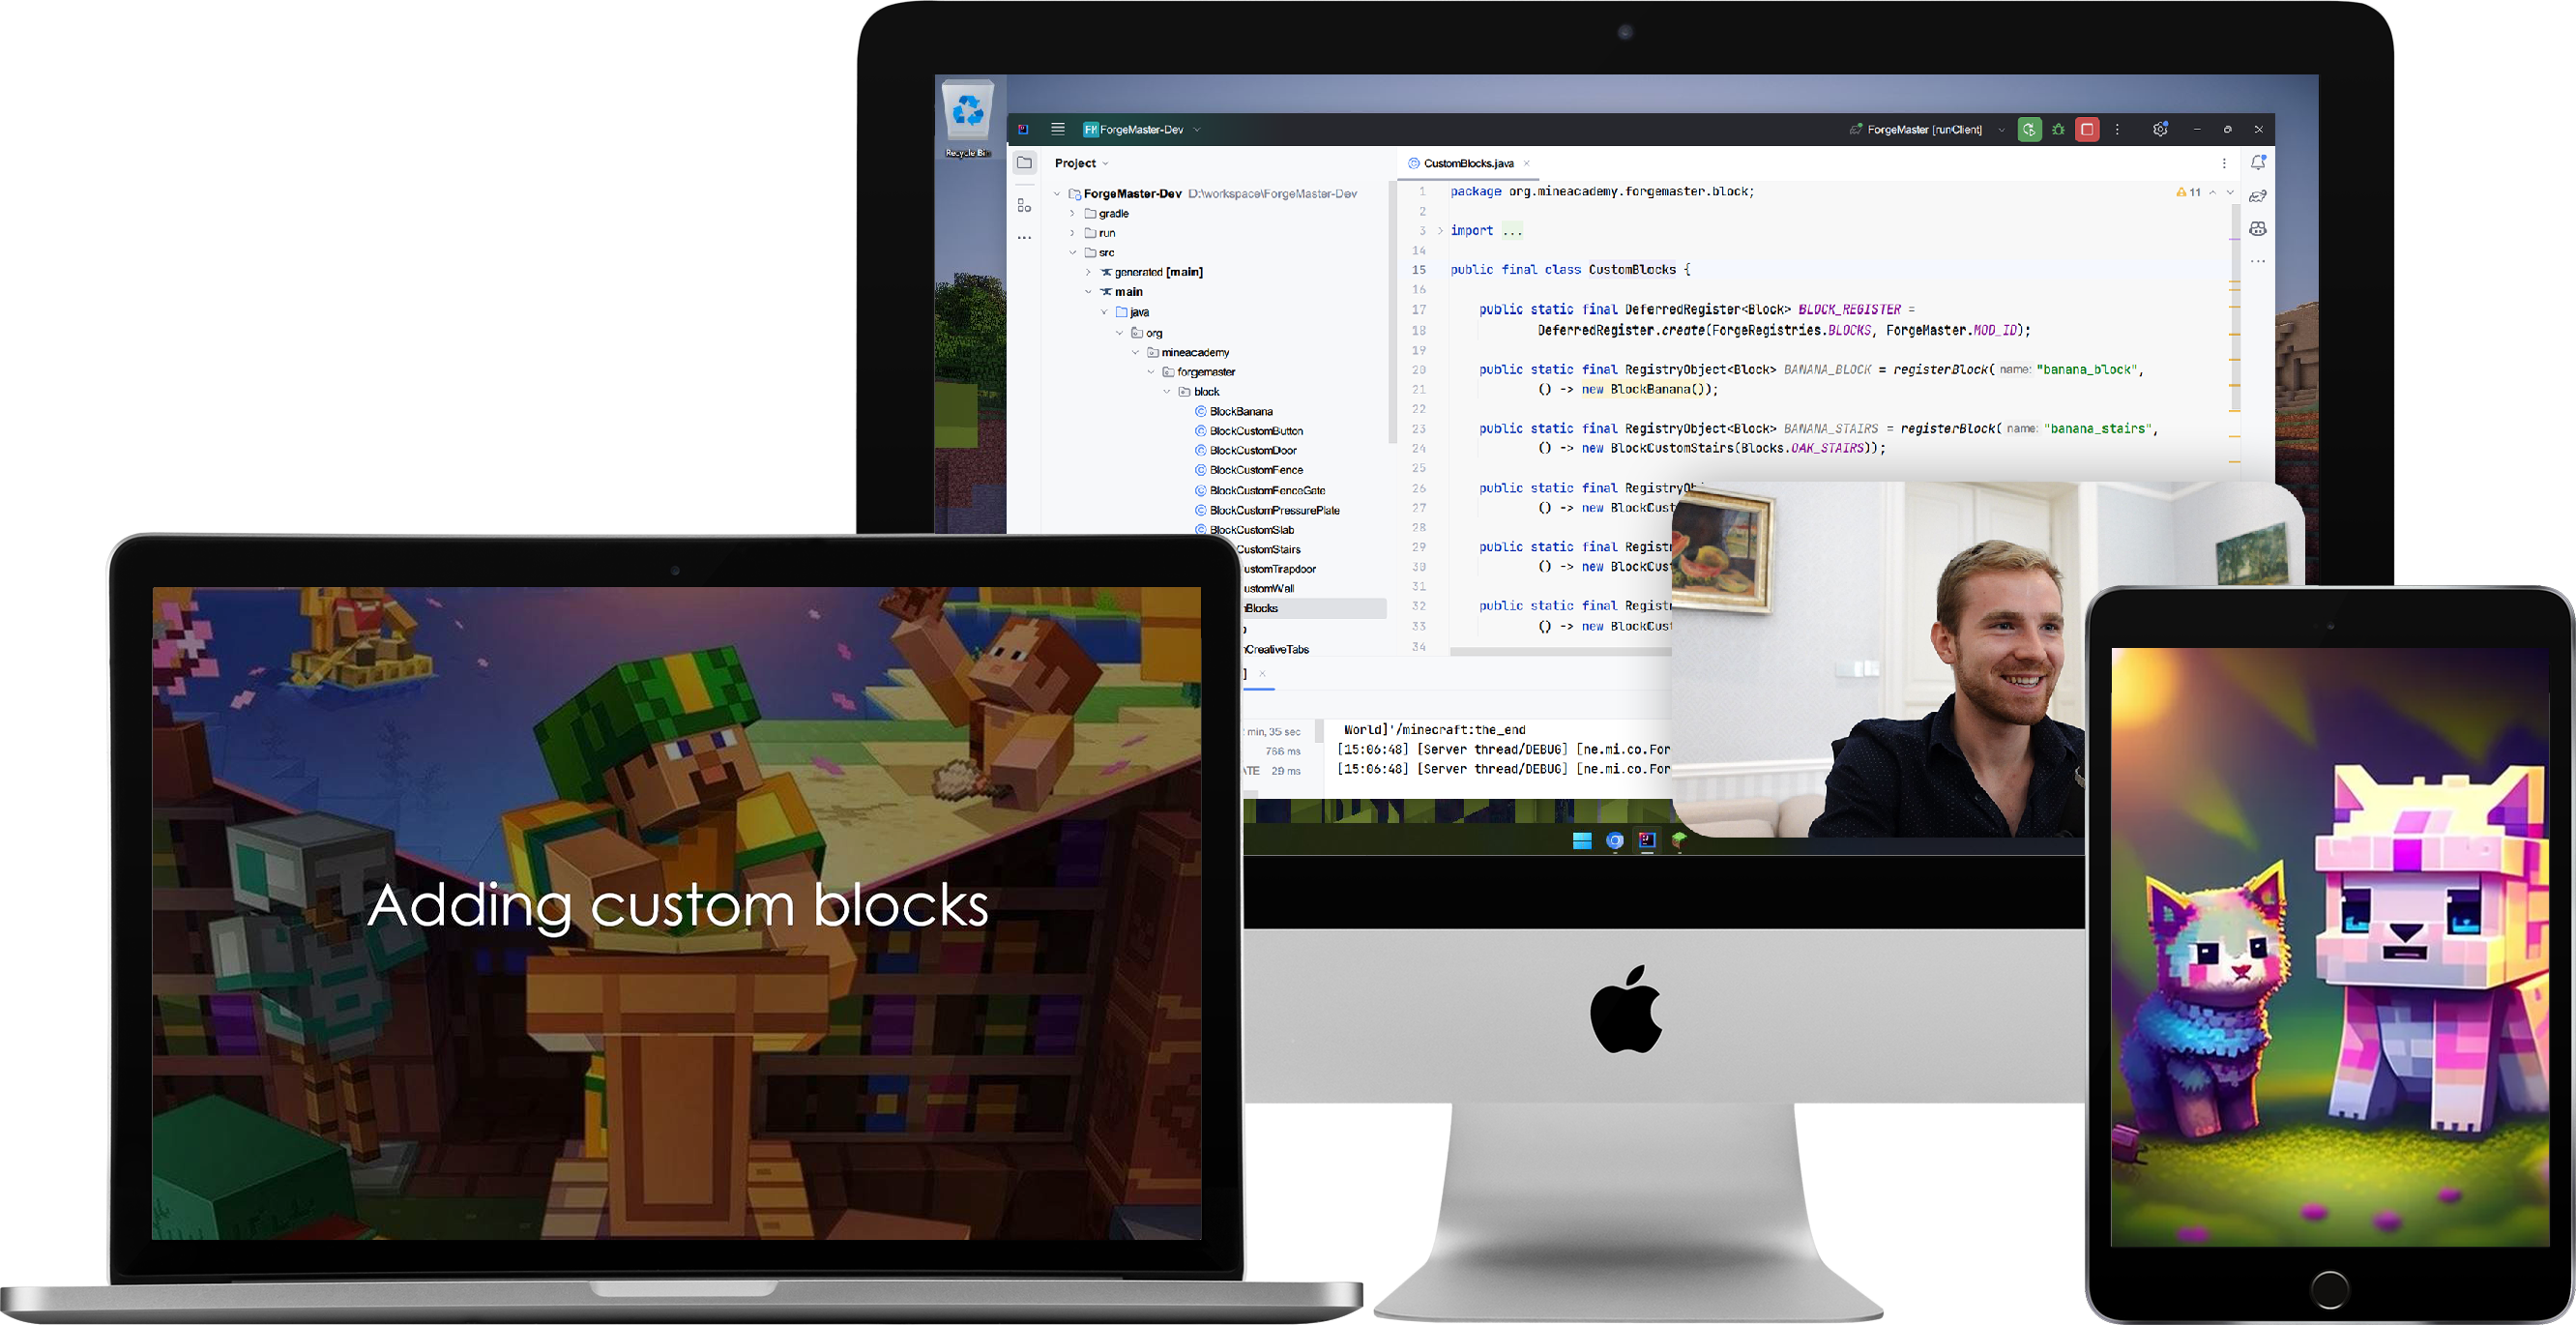
- Adding custom blocks: How to create and design custom Minecraft blocks, all including the necessary code, the assets, block states as well as the texture.
- Deep understanding to avoid pitfalls: Understanding how items/blocks are registered within Minecraft and why we have to register them the way we do.
In this lesson we’ll continue building our custom blocks, namely I’ll teach you stairs and slabs.
Here’s what we are going to cover:
- Using existing Minecraft models in new ways: Adding your own stairs/slabs to Minecraft using the existing stairs/slab renderer.
Today I’ll be going through some of the most popular blocklike structures using existing Minecraft rendering, and I’ll teach you how to apply it to your own custom blocks.
In simple word, we’ll be making some buttons, doors, walls, fences etc.
Here’s what we are going to cover:
- Buttons & pressure plates: Add your own custom buttons and pressure plates including drops and custom behavior.
- Fences, fence gates & walls: How to make your own fences, fence gates and walls and make them connect to each other.
- Doors & trapdoors: How to properly register and render doors and trapdoors. We’ll be using the “cutout” rendering technique.
In this video, I’ll show you how to design and add items to your own creative tab window.
Here’s what we are going to cover:
- Custom creative tabs: How to register custom creative tabs for creative mode.
- Adding items: Populating our creative tab with our own custom items.
Today I’ll show you the various crafting recipes you can have within Minecraft, and how to make your own.
Here’s what we are going to cover:
- Recipe shapes: Shaped and shapeless recipe.
- Workbench recipes: Creating custom recipes for the crafting table.
- Furnace & blasting recipes: How to add your own smelting and blasting recipes.
- All other recipe types: I’ll show you where to find native Minecraft recipes and how to design your own for any block.
In this lesson, you’ll learn a simple concept of adding a custom fuel to furnace/blasting furnace.
Here’s what we are going to cover:
- Adding fuel items: How to add your own custom fuel items in Minecraft.
Today we’ll be making custom food!
Here’s what we are going to cover:
- Adding edible items: Making our custom banana item edible.
If you are familiar with Bukkit, this lesson will make a lot of sense. I’ll show you how to add custom item lore, also known as a tooltip.
Here’s what we are going to cover:
- Adding item lores: How to place a custom item tooltip with colors for any custom item.
In this lecture, I’ll show you how to properly make custom items or blocks drop themselves as well as how to make blocks drop experience when mined in survival.
Here’s what we are going to cover:
- Item & block drops: How to make our items or blocks drop themselves depending on their state (such as double-step will drop 2x steps).
- Drop experience: How to make blocks drop experience when mined in survival
In this lesson I will teach you how to open default block classes (works for any class really) and modify their properties.
PS: There is a next level to it for non-static properties as well, that is being covered in the Flowers lesson.
Here’s what we are going to cover:
- Opening vanilla classes: How I find vanilla classes and hack into their properties.
- Adding composer items: An example of this is when I will add custom composer items.
Today you’ll learn the basics of block properties (we’ll dive deeper into this in Week Two) and we’ll be making our custom farming crops!
Here’s what we are going to cover:
- Block properties: We’ll be working with block states and block properties to properly handle crops growth by using the IntegerProperty age.
- Adding custom crops: How to make a custom crop block, seeds and the finished item.
- Age-dependent drops: How to customize what the crop drops based on its age (or any custom property).
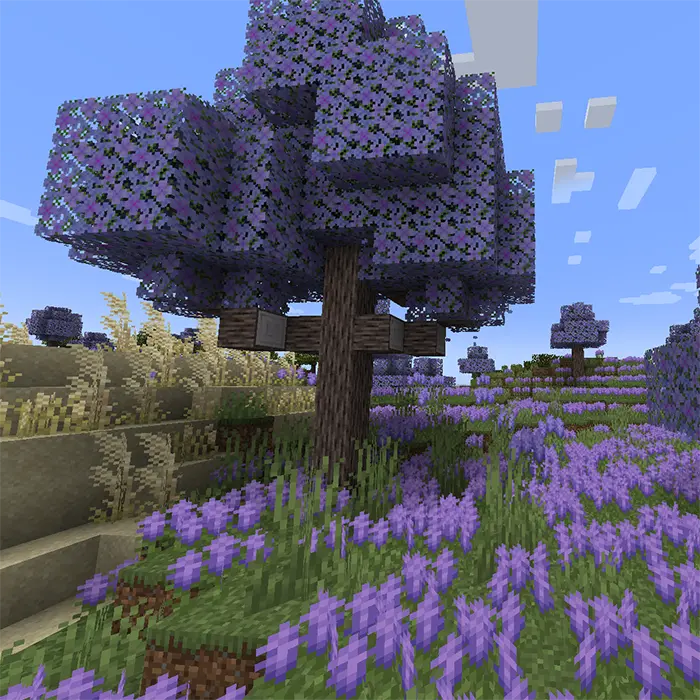
In this video you’ll be adding custom vegetation and pot items!
(I will show you how to naturally spawn it to your world later.)
Here’s what we are going to cover:
- Adding flowers: Creating our custom plants and decoration.
- Potted flowers: How to properly add a flower to a pot. As a bonus, I will even teach you how to give yourself a potted item to creative inventory which vanilla client does not normally do.
Elon could not stand Forge craziness and people losing motivation over mods so he decided to explain his simple 5-step process for making things. Obviously I am being satiric, but if you want to get a lot of things done and learn from your mistakes, watch this video.
Here’s what we are going to cover:
- Make your requirements less dumb: It’s particularly dangerous if a smart person gave them to you as you might not question them enough.
- Delete parts of your process: If you’re not adding back then you’re not deleting enough.
- Simplify: Don’t optimise if it shouldn’t exist
- Accelerate cycle times: Don’t go faster if you haven’t worked on the other 3 things first.
- Automate: Don’t reverse these 5 steps
Welcome to Week Two! This week we’ll be diving deeper into more advanced topics to help you truly create next-level mods.
I’ll begin this week by sharing something very personal that helped me stay focused and keep the spirits high.
Here’s what we are going to cover:
- Next level motivation: How to focus like a professional coder while maximizing productivity (level 2 of the motivation hack from Week 2).
In this video I’ll explain one of the most important concepts in modding, siding. There are two sides to things, client and server, and your code can run on both depending on what you are trying to achieve.
Here’s what we are going to cover:
- Siding – the client vs the server: The physical server, physical client, logical server and logical client with “for dummies” examples.
Today, you’ll be creating special interactive items that do stuff when clicked. This is fun and can let you create weapons and other advanced mechanics.
Here’s what we are going to cover:
- Interactive items: Making items perform custom actions when clicked.
In this lesson we’ll be making blocks recognize players interacting with them. This is the foundation for opening custom inventories or making blocks do anything you desire.
Here’s what we are going to cover:
- Interactive blocks: Making blocks recognize players interacting with them. This is the foundation for opening custom inventories or making blocks do anything you desire.
In this lesson I’ll show you how to operate item properties, that is how to place invisible tags on items and use them to create a rocket launcher weapon which can be unloaded after it fired.
Here’s what we are going to cover:
- Item properties: How to store custom client-sided properties such as bow pulling on your custom items, and use this to make a weapon “used”.
- NBT tags: How to store and retrieve invisible NBT tags (those are stored permanently to disk and synced with the server as well).
In this lesson, you’ll learn how to place invisible properties to blocks. Students used this to make computer screens powered by redstone or other advanced custom mechanics.
Here’s what we are going to cover:
- Block states: What are block states and how to use them.
- Block properties: How to place invisible properties to blocks.
In this lesson, we’ll be making a custom ore and a special tool. I’ll show you how to use the tags system in Minecraft to only drop the ore block when broken by the correct tool, and more.
Here’s what we are going to cover:
- Tag keys: What are invisible “tags” that the Minecraft can read and apply custom logic to.
- Ore breaking: Example of using tags system to create “needs pickaxe” tag for ores to only drop when mined by our pickaxe tier (or higher).
Today I’ll show you how to create commands in Minecraft. If you are coming here from the Bukkit world, there are tons of changes so you will need to drop your previous knowledge and learn from the Boss himself (not me, but Mojang).
Here’s what we are going to cover:
- Creating advanced commands: Complete with tab-completion, error checking and arguments.
- Project: /home: Creating a /home command in a single class taking multiple arguments, including cross-world support.
In this video, we’ll be listening to game events. And not only them, Forge gave us a nice surprise, two ways to listen to events!
Here’s what we are going to cover:
- Listening to “mod” and “Forge” event bus: How to find out when to listen to what, and what game events are available, and have some fun!
In this mini-series, I’ll give you a full step-by-step training on custom item and block models using Blockbench. This is the first video where we’ll be making a custom chair item. In the next tab, you’ll see how to place the chair to the world.
Here’s what we are going to cover:
- Blockbench training: How to create custom item, block (entities are coming soon!) models using Blockbench.
- Custom items (chair): Creating a custom chair item.
We’ll continue by placing the chair as a custom model and making sure it rotates well with the player like a furnace does.
There are some limitations, notably I made the chair exceed 1 block limit which makes some fun glitches, but that’s completely up to you how you’ll make your stuff.
Here’s what we are going to cover:
- Custom blocks: Creating a custom placeable block in Blockbench.
- Block faces: How to position the chair and rotate it vertically around the player like furnace.
And in this lecture, I’ll teach you how to make custom sword items that render nicely in GUI, item frames and in your hand!
Here’s what we are going to cover:
- Custom item rendering: How to create custom positioning and scale for a custom item when held in the hand, in GUI, item frame and even on a player’s head!
Today, I’ll show you how to create separate models when the custom item model is held (realistic 3D) vs dropped on the floor or rendered in the GUI (2D artistic).
Here’s what we are going to cover:
- Custom item rendering: Using “forge:separate_transforms” to create 3D and 2D separate models when the custom item model is held (3D) vs dropped on the floor or rendered in the GUI (2D)
And finally, today it’s time to add animated textures to our items and even blocks!
Here’s what we are going to cover:
- Item animations: How to add animations to our item when shown in the HUD/GUI.
- Block animations: Making blocks animated when placed like lava!
In this video, we’ll be listening to custom keyboard strokes and performing client actions.
NOTICE: This is done on the client. You will need to create custom packets to perform player- or world-related actions, which I’ll show you in the next video.
Here’s what we are going to cover:
- Key mappings: Registering a custom key bind which users can customize in Minecraft’s official Controls menu and performs actions when hit.
In this lesson, we’ll be diving deep into the world of packets and ultimately sending our data from the client side to the server side using a custom packet (or a message)
Here’s what we are going to cover:
- What are packets: How packets work and what you can and cannot do on the server/client, deep dive.
- Creating a custom packet: Making a custom message to send a packet when a custom keyboard key is pressed to instantly eat banana, making a kitpvp-like system.
Today, I’ll be teaching you two concepts, first, how to save and load permanent data to the player using Forge’s capabilities system. Second, how to render custom graphics client-side and finally, you’ll walk away laughing having a fully functional server-client thirst system!
Here’s what we are going to cover:
- Capabilities: Attaching a capability to any entity, item or block.
- Drawing textures on the HUD: Introduction to custom GUI elements where you’ll draw custom thirst texture using GuiGraphics#blit function on the screen.
- Cross-side sync: Connecting everything with server and client-side packets such that the server securely calculates thirst and clients only render it.
In this personal video I’ll share how to find other’s code on GitHub to learn faster and how to look for useful code snippets.
Here’s what we are going to cover:
- Finding code snippets: Accelerating your learning and finding ideas by properly using GitHub to find simple code snippets from experienced modders.
Welcome to the Weapons & Armor week! This week will be very exciting because we’ll be making our fully featured armor, weapons and custom tools – as so many of you requested!
Today, you’ll be making a custom tier and a custom tool, adding on top of the Netherite vanilla one.
Here’s what we are going to cover:
- Custom tiers: Adding new tiers to the vanilla system (wooden, stone, iron, gold, diamond and Netherite).
- Custom tools: Adding Platinum-level tools such as Shovel, Hoe, Axe, Pickaxe, Sword etc. and making it register properly in Minecraft.
In this lesson, we’ll be making a custom tool from scratch combining different tools’ abilities.
I’ll be taking this to the NEXT level and even making our custom tool properly strip logs or turn grass into a walked path, etc.
Here’s what we are going to cover:
- Custom multi-tool: Creating a paxel that is capable of doing the job of multiple tools at once for multiple blocks.
- Adding behavior: Adding custom behavior such as stripping logs to our custom tool.
In this lesson, we’ll be making a feared weapon, but a miner’s friend, called the Thor hammer. This tool lets you mine 9 blocks at once in the direction you are mining towards!
Here’s what we are going to cover:
- Working with pitch and yaw: How to properly get player’s direction and find blocks towards it for our custom 3×3 hammer.
- Adding 3×3 hammer: Creating a custom tool capable of mining multiple blocks at once.
In this short lecture, we’ll be adding special effects to entities attacked by our custom weapons.
Here’s what we are going to cover:
- Adding effects: Using MobEffectInstance to instantly add potion effects to entities that you attack whilst holding your custom weapon.
And here comes a very requested lesson on custom enchantments!
I’ll show you not only how to add this enchantment, but also how to make it properly register in Minecraft such that it creates an Enchanted Book, shows in the enchantment table, and how to check it and apply custom behavior to mobs/blocks.
Here’s what we are going to cover:
- Custom enchants: Adding new enchantments to Minecraft with proper registration at enchanted books and enchanting tables, as well as applying their custom behavior.
Back in Minecraft Beta up until beta 1.8.1, bows had the ability to shoot arrows instantly. This is suitable for fast-paced PvP games and in this video we’ll be adding a custom special bow with this very ability!
However, this can easily be overused by players so I’ll teach you how to make the bow break after a few uses, making it more valuable.
Here’s what we are going to cover:
- Custom bows: Adding new bows to Minecraft with custom durability, item properties and making them instantly fire arrows at full speed.
In this advanced lection you’ll be making your own custom shield.
I’ll provide all bbmodels including json files and textures below, however, please complete this video in full because there are some custom changes needing to be made!
Here’s what we are going to cover:
- Custom shields: Adding new shields to Minecraft.
- Working with Blockbench: Using Blockbench to design, export and edit our json files such that it properly works in Minecraft Forge.
Our students asked how to make custom particles, and potions that make you climb the wall like a feature in popular hacked clients, so this video will teach you exactly that!
I decided to combine these two concepts for more fun, and give you something you can actually use and make a fully featured mod from.
Here’s what we are going to cover:
- Custom effects: Adding new sprites, working with new particle effects (advanced, but worth it).
- Custom potions: Adding new potion effects to Minecraft and linking them with our custom effect.
- Velocities and motion: Manipulating player’s motion such that our custom potion makes him climb walls like a spider.
In this lecture, we’ll be making a fully-featured armor!
Here’s what we are going to cover:
- Custom armor: Adding new armor to the game! (Both as the 2d texture and 3d one)
I’ll continue the previous lesson about armor today and we’ll be discussing how to reward players when they wear all 4 pieces (helmet, chest, leggings and boots) on their bodies by giving them an extra potion effect!
Here’s what we are going to cover:
- Armor ticking: How to effectively check for items on the player’s armor and add full body potion effect without causing extra lag.
In this fun lesson, we’ll be making horse armor!
Here’s what we are going to cover:
- Custom horse armor: How to add custom horse armor that is placeable on horses on Minecraft.
In today’s lesson, we’ll be going over sounds! Hell, I’ll even show you a full sound creation and importing it into Minecraft, it’ll be lots of fun so stay tuned!
Here’s what we are going to cover:
- Recording custom sounds to Minecraft: I’ll give you a LIVE demonstration of recording, editing and converting a sound to Minecraft.
- Adding custom sound events: Registering a custom door close/open sound and playing it in the game.
We’ll continue the last lesson and play a custom jukebox in Minecraft!
Here’s what we are going to cover:
- Custom music discs: How to play custom vinyls in Minecraft – worry-free of copyright claims 🙂
In this lesson I’ll teach you how to become a master artist, and then force everyone to look at your custom art in Minecraft. I’ll be using my personal art images to illustrate the point. I unfortunately can only promise the latter.
Here’s what we are going to cover:
- Da Vinci in Minecraft: How to become a master artist and import your stunning paintings to Minecraft, in custom sizes.
In this lesson, we’ll be going adding a new villager type called the DJ, of course, selling our custom record through a new custom trade.
Here’s what we are going to cover:
- Custom villagers: Adding new villager type called the DJ into Minecraft.
- Custom villager trades: Taking over and customizing the trade system to inject our own, unique trades into it.
In this video, I’ll teach you how to flash kids… I mean advancements on the screen when a certain action is provided.
Here’s what we are going to cover:
- Flashing advancements: Using json files and Minecraft rules to register, and render custom advancements for pretty much any game action possible.
Finally, today you’ll be creating your own custom particles!
Here’s what we are going to cover:
- Particle and particle effects: We’ll be making a custom particle that appears when our Thor Hammer smashes 3×3 hole in a wall!
In this lesson, we’re going to be dealing with fluids. Finally, you’ll be able to add spilled beer (oh no!), acid and gummyjuice to Minecraft.
Here’s what we are going to cover:
- Custom fluids: Adding custom fluid mechanics with unique colors (and even behavior) into Minecraft.
Tile entities (called block entities since Minecraft 1.17) are “living” versions of blocks, such as a monster spawner, which has a custom mob spinning animation, and can hold additional data and spawn mobs when players are around.
In this video, I’ll show you how to create your own block entity complete with a ticking system that strikes lightning when players are nearby.
Here’s what we are going to cover:
- Block entity (tile entity): Creating a “living” block which has its own ticking system, and can store permanent data.
- Spawning lighting: How to make your block perform actions on click or when players are nearby.
One of the most awaited lesson in Forge Mastery – how to design your own custom GUI!
Contrary to other tutorials, I will be teaching you EVERYTHING. That means we will be drawing the menu in Photoshop (or a free alternative), calculating the pixels, and then translating it into easy-to-understand Java code.
This lesson took over 3 days to make and we’ve pushed ourselves to an absolute edge to give you the best understanding and keeping Forge boilerplate code away, so you will have the most powerful custom UI system in your mods. And know that those inventories truly have NO limits in mods (unlike in plugin where you are limited to only existing containers).
Here’s what we are going to cover:
- Rocket machine: We’ll be making a machine to produce rockets all with fluid and energy system through-out this mini-series about GUI.
- Drawing custom inventories: How to use Photoshop or any free alternative to draw a GUI in Minecraft.
- Storing container data: Synchronizing custom inventory data between the client (you) and the server.
- Menu, screen, block entity: How to connect the three needed parts together to properly open a custom-drawn container in Minecraft.
We’ll continue the last lesson and today, I’ll show you how to make your custom block entity which opens the custom inventory actually work with hoppers!
Even better, I’ll show you how to make the different sides perform different actions, such that the hopper can automatically insert ingredients from the sides, and another to collect the smelted item directly from below it.
Here’s what we are going to cover:
- Directional block: How to make your rocket machine rotate when placed, just like a furnace.
- Direction property: How to add direction property to your block entity and translate the global rotation to the rotation of the block.
- Hopper: Making hoppers add items to a specific slot in your block menu, and suck items out from another when your block is done smelting.
Forge comes with two additional features for GUI makers, this lesson covers the first one called Energy.
Energies are made to work together with industrial mods where you can lay pipes and connect them into your block. Think about it as redstone, however, I’ll show you how to use the energy system without the need of any external mod.
Here’s what we are going to cover:
- Energy storage: We’ll be adding another slot to our custom GUI that will, upon placing an item, extract energy from the item into our rocket machine to power the smelting process.
- Toggling inventory labels: How to hide, show or even move the “Player Inventory” and “Chest” or whatever your custom container is called from your GUI.
This is a continuation of the Energy lesson, and today we’ll be adding fluids with a custom fancy animated water texture!
Please make sure to have seen the Energy lesson before continuing.
Here’s what we are going to cover:
- Fluid handling: Fluids are a cool feature of Forge that make it possible to “drop” a bucket into your container, that will be emptied and its fluid transferred into the container, powering our smelting process!
Today, I’ll teach you how to display custom stuff around, or inside, your block entity.
An example of this is the Monster Spawner, which shows a rotating model of the mob that it is spawning.
Here’s what we are going to cover:
- Entity renderer: How to display additional graphics around your block entity, such as rotating mobs like mob spawner, or the currently crafted (or saved) item in the block, on top of it. Think about cool 3D crafting tables!
- PoseStack: We’ll be working with poses, block light and ItemRenderer to display the currently crafted (or finished) item for our rocket machine.
Welcome to Week Six! This week is all about custom entities and we’ll be starting very simple, by designing our entity in BlockBench.
We won’t be coding in Java here, I am just going to show you how to make an entity model and some basic animations, so if you already have a bbmodel and are familiar with BlockBench, feel free to skip over to the next video to learn how to import it into Minecraft.
Here’s what we are going to cover:
- BlockBench entity tutorial: Creating a custom entity in BlockBench (without OptiFine CEM and without GeckoLib).
In this lesson, we’ll be adding custom bears to Minecraft!
Here’s what we are going to cover:
- Importing entity from BlockBench: How to export the model, animations (txt file) along with the texture of your custom entity from BlockBench and import it to Forge.
- Entity, model and renderer: How to properly register and display a custom entity in Forge without any external library.
In this advanced lesson, you’ll be making custom pathfinders and adding an attack animation to a custom entity.
Here’s what we are going to cover:
- Pathfinder goals: Creating custom pathfinder entity goals.
- Attack animations: Making our bear attack and target the player with a custom animation and damage.
Today, I’ll teach you how to add natural mob variations to Forge. Such as a rare Spider Jockey, or a special bear type that only spawns in the nether.
Here’s what we are going to cover:
- Custom mob variations: Adding vanilla variations of custom entities to Minecraft.
In this video, you’ll be making your custom entity tame-able, breed-able and finally, we’ll be making our tamed bear sit!
Here’s what we are going to cover:
- Entity properties: Making an entity tameable, breedable and even sitting when told to using a custom animation.
In this requested lesson, we’ll be combining Horse and Saddled Pig logic to make our custom bear rideable using WASD controllers without any complex math operations.
Here’s what we are going to cover:
- Adding WASD entity controller: Make our custom bear rideable using WASD controllers without any complex math operations.
In this lesson, I’ll show you how to add custom sound events for an entity, such as on death, idle, walking, or when taking damage.
Here’s what we are going to cover:
- Adding entity sounds: Custom entity sounds on various events such as on death, idle, walking, or when taking damage.
Today, we’ll be adding bears to vanilla biomes in Minecraft.
Note: This will only take change in newly generated chunks, or in new worlds.
Here’s what we are going to cover:
- Natural spawning: How to make your custom entity spawn naturally in your worlds.
In this short lesson, we’ll be adding custom boss bar to the player when a custom entity is nearby.
Here’s what we are going to cover:
- Custom boss bar: How to add custom boss bar to the player when a custom entity is nearby.
Welcome to Week Seven! This is one of the most requested week, because it will teach you how to terraform your world and even make new, custom dimensions.
I’ll show you how to make a space mod and travelling to the Moon dimension!
Here’s what we are going to cover:
- Block foliage color: How to add custom foliage block color such as grass, or leaves to Minecraft. This comes handy later when making Moon blocks such as Moon grass or Moon trees.
Today, I’ll teach you how to add biomes!
This is going to take an interesting turn, because we’ll be generating our json files automatically using data generation. I did not touch upon this subject before because it’s overly techy and you need to run the data gen on every change before running the client.
But when it comes to worldgen, it’s actually easier than having to write json files manually, so we’ll be using it starting from today.
Also, unless you want to tamper with mixins and hacking bytecode, we’ll be needing to use a third party library to replace a portion of vanilla biomes using our own one, so I’ll also teach you that!
Here’s what we are going to cover:
- Using Terrablender: How to connect to third party APIs in your mod, make the API available when you are debugging and use it to inject your own biomes.
- Data generation: Using gather data event in Forge to manually generate .json files for our biome.
- Custom biome: How to add completely new biomes into Minecraft.
In this lesson, we’ll be adding a completely new dimension to the game!
Here’s what we are going to cover:
- Custom “moon” dimension: How to make a space mod and travelling to the Moon dimension!
In this lesson, you’ll be adding custom ore generation (or anything really) into existing vanilla biomes.
Here’s what we are going to cover:
- Custom ore generation: Adding custom ore generation (or anything really) into existing vanilla biomes.
In this lesson, we’ll be adding custom tree placements into our Moon world.
Please watch this lesson if you want to add more complex structures too because we’ll be building on top of it.
Here’s what we are going to cover:
- Adding tree placers: Adding simple naturally generated structures (here: trees) to our Moon dimension.
Today, we’ll be creating a retro mod adding back the famous red rose into Minecraft and making it appear naturally inside our biomes!
Here’s what we are going to cover:
- Vegetation placements: Adding vegetation structures into existing (and new) biomes using Forge.
In this requested lesson, we’ll be going over how to make a Moon sapling that can actually grow on stone, and can be placed on non-dirt items.
Here’s what we are going to cover:
- Custom sapling and placement: How to make a Moon sapling that can actually grow on stone, and can be placed on non-dirt items.
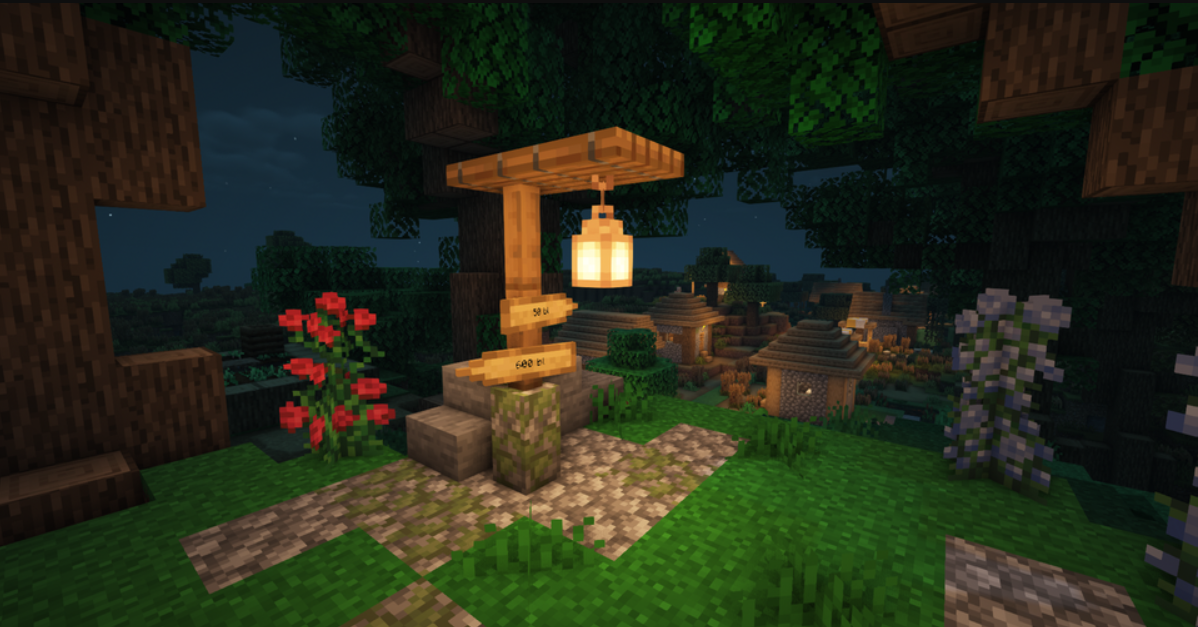
Finally, it’s time to add our own custom generated mega-cities! We’ll be starting easy by creating randomly generated wells on the Moon, and the rest will be totally up to your imagination!
Here’s what we are going to cover:
- Features & structures: Adding custom naturally-generated structures on the Moon using your own, unique logic (we’ll be using desert wells as a simple example).

Quality, Trust, Results


Get Forge Mastery™
A complete Forge & NeoForge mod training for Minecraft. No previous coding experience needed.
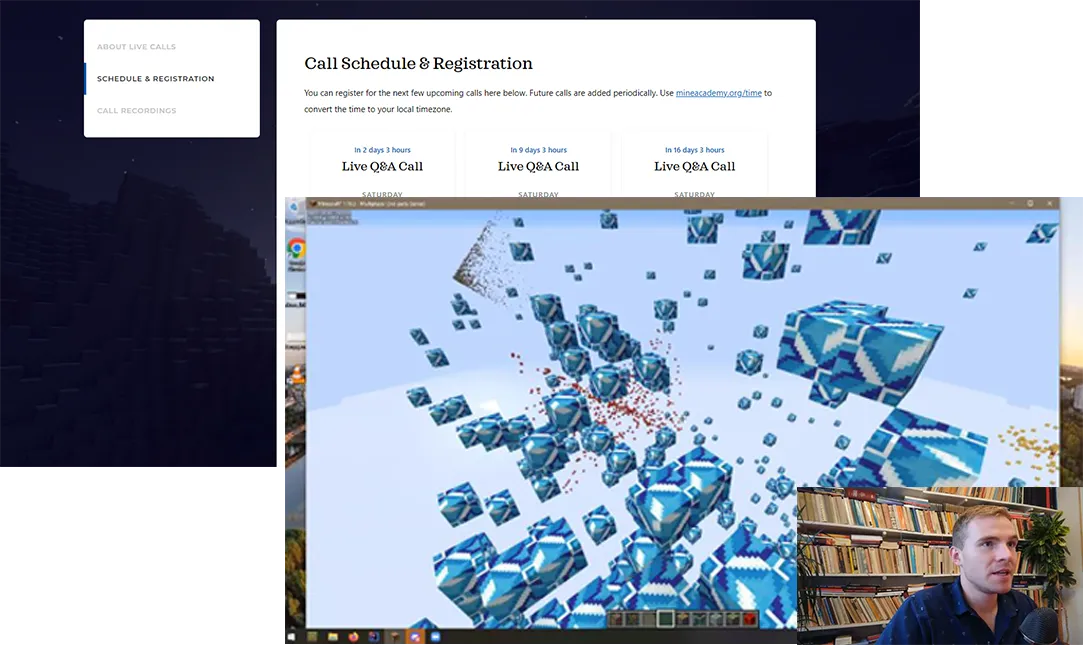
Zoom Coaching 2x/Week

With 2x/weekly live calls where you can chat or bring a microphone and speak with us live (or chat if you don’t have a microphone), the level of support is the closest you can get from an educational institution.
We also have a private 2,000+ member group on Discord and a proprietary platform (NOT Facebook) with group discussions. People use it to get help, find coding partners or share their creations.
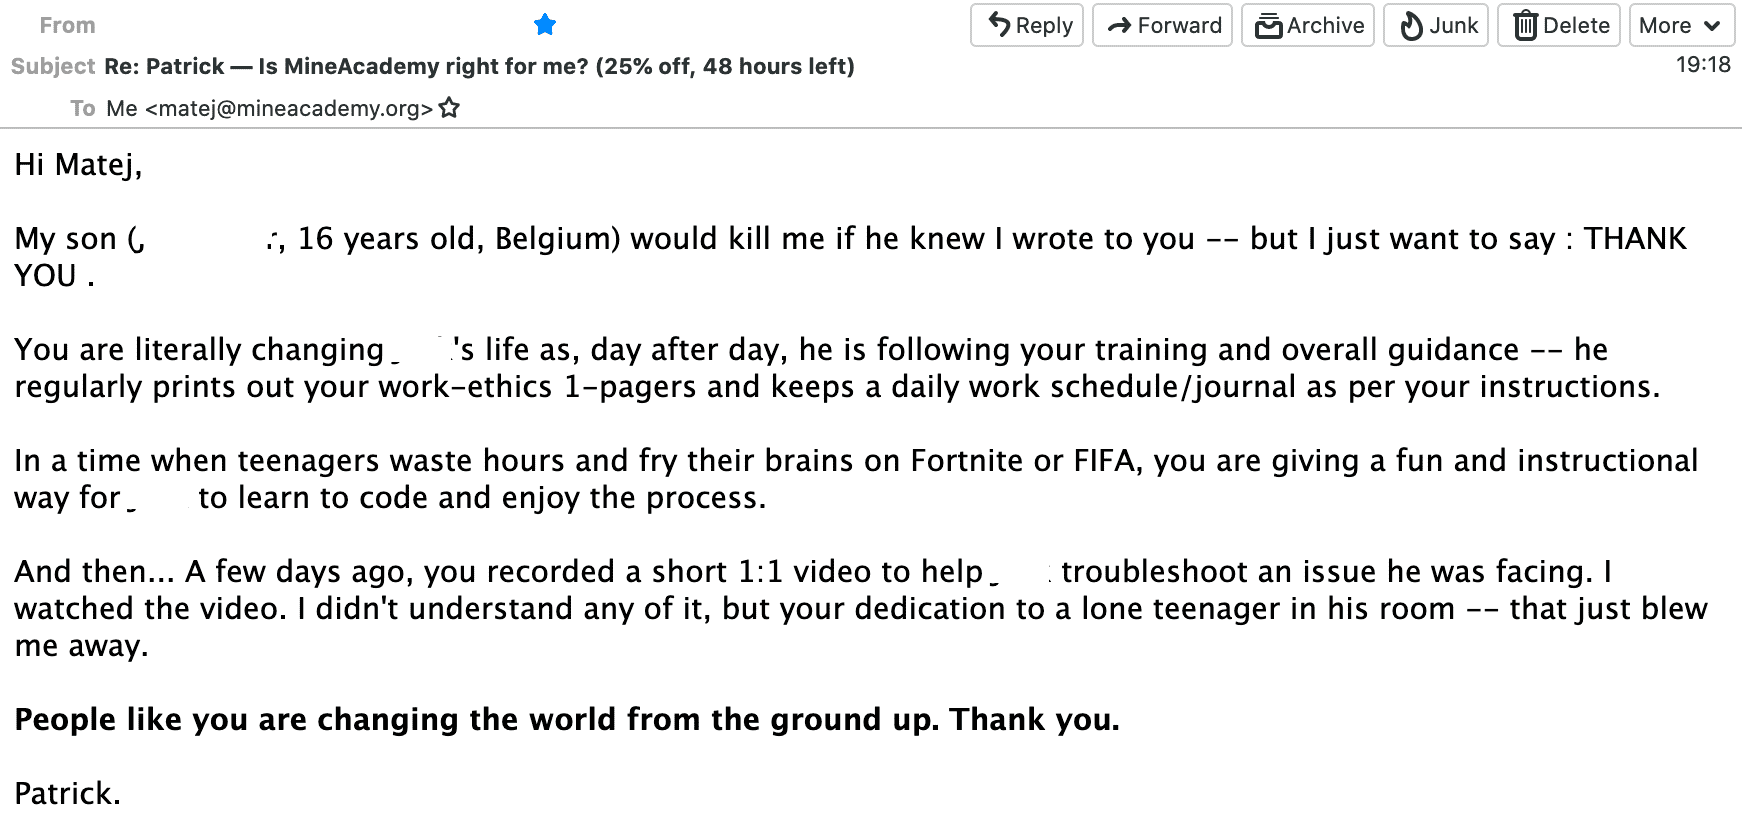
Here is what Patrick said:
JetBrains Program
We work with JetBrains so now get professional software used by Google developers to make mods!
With this training you will get a FULL 4-month license for any JetBrains premium software (IntelliJ Ultimate, PHPStorm or PyCharm, etc.) And after this period, JetBrains provides a 40% discount on any purchase you choose.

Get Forge Mastery™
A complete Forge & NeoForge mod training for Minecraft. No previous coding experience needed.
30-Day Refund Guarantee

We guarantee that by following our training you will create fully-functional, well-built mods for Forge.
Regardless of your level of experience.
Our process behind such a bold guarantee combines our learning platform, personalized help, private community and materials to help you on demand.
And if you go through a small portion of the training without seeing results, you owe us absolutely nothing. Simply contact us at [email protected] within 30 days of your purchase and we will give you a prompt and courteous refund.Conditions apply, see mineacademy.org/terms to learn more.
Learn The Way It Suits You
Never programmed before? Busy schedule? Go through the content at your own pace, in your own schedule. You get live coaching calls 2x/week alongside the video content.
Online e-learning platform
Watch training videos, download source codes, save your progress and take notes.
Access the training online from any desktop or mobile device, anywhere in the world, anytime you like.
Action items and tools
No-one is here just for the videos.
The best way you learn is when you do it yourself, that’s why we have action items, downloadable source codes and resources to help you learn quickly.

A winning community
Join an energetic community of winners and people on the same wavelength.
Get access to successful network owners, keep yourself motivated, make friends and have fun!
Personalized support
Get help from certified Java instructors who can troubleshoot your problems and provide direction.
Jump on our twice per week live Q&A calls, discuss in our private support group and get 24/7 support.
Get Forge Mastery™
A complete Forge & NeoForge mod training for Minecraft. No previous coding experience needed.